Have the Perfectly Painted Room - Learn How to Properly Prepare Surfaces Before Interior Painting
If you want to give your interior walls a much-needed facelift, the best way is to paint them with a beautiful color. For a professional looking job and one that will last for years, you need to make sure that the surface is properly prepared and ready for painting. Preparation is essential to get the best results and ensure that the paint adheres over time. This includes ensuring the surface is clean, dust- and allergen-free, patching any cracks or holes with spackle, removing switch and outlet covers, and finally applying a primer before painting. Doing this work before painting may seem like a lot of work, but it will save you time and effort down the road. Take your time and create a professional job, the results will be worth it.
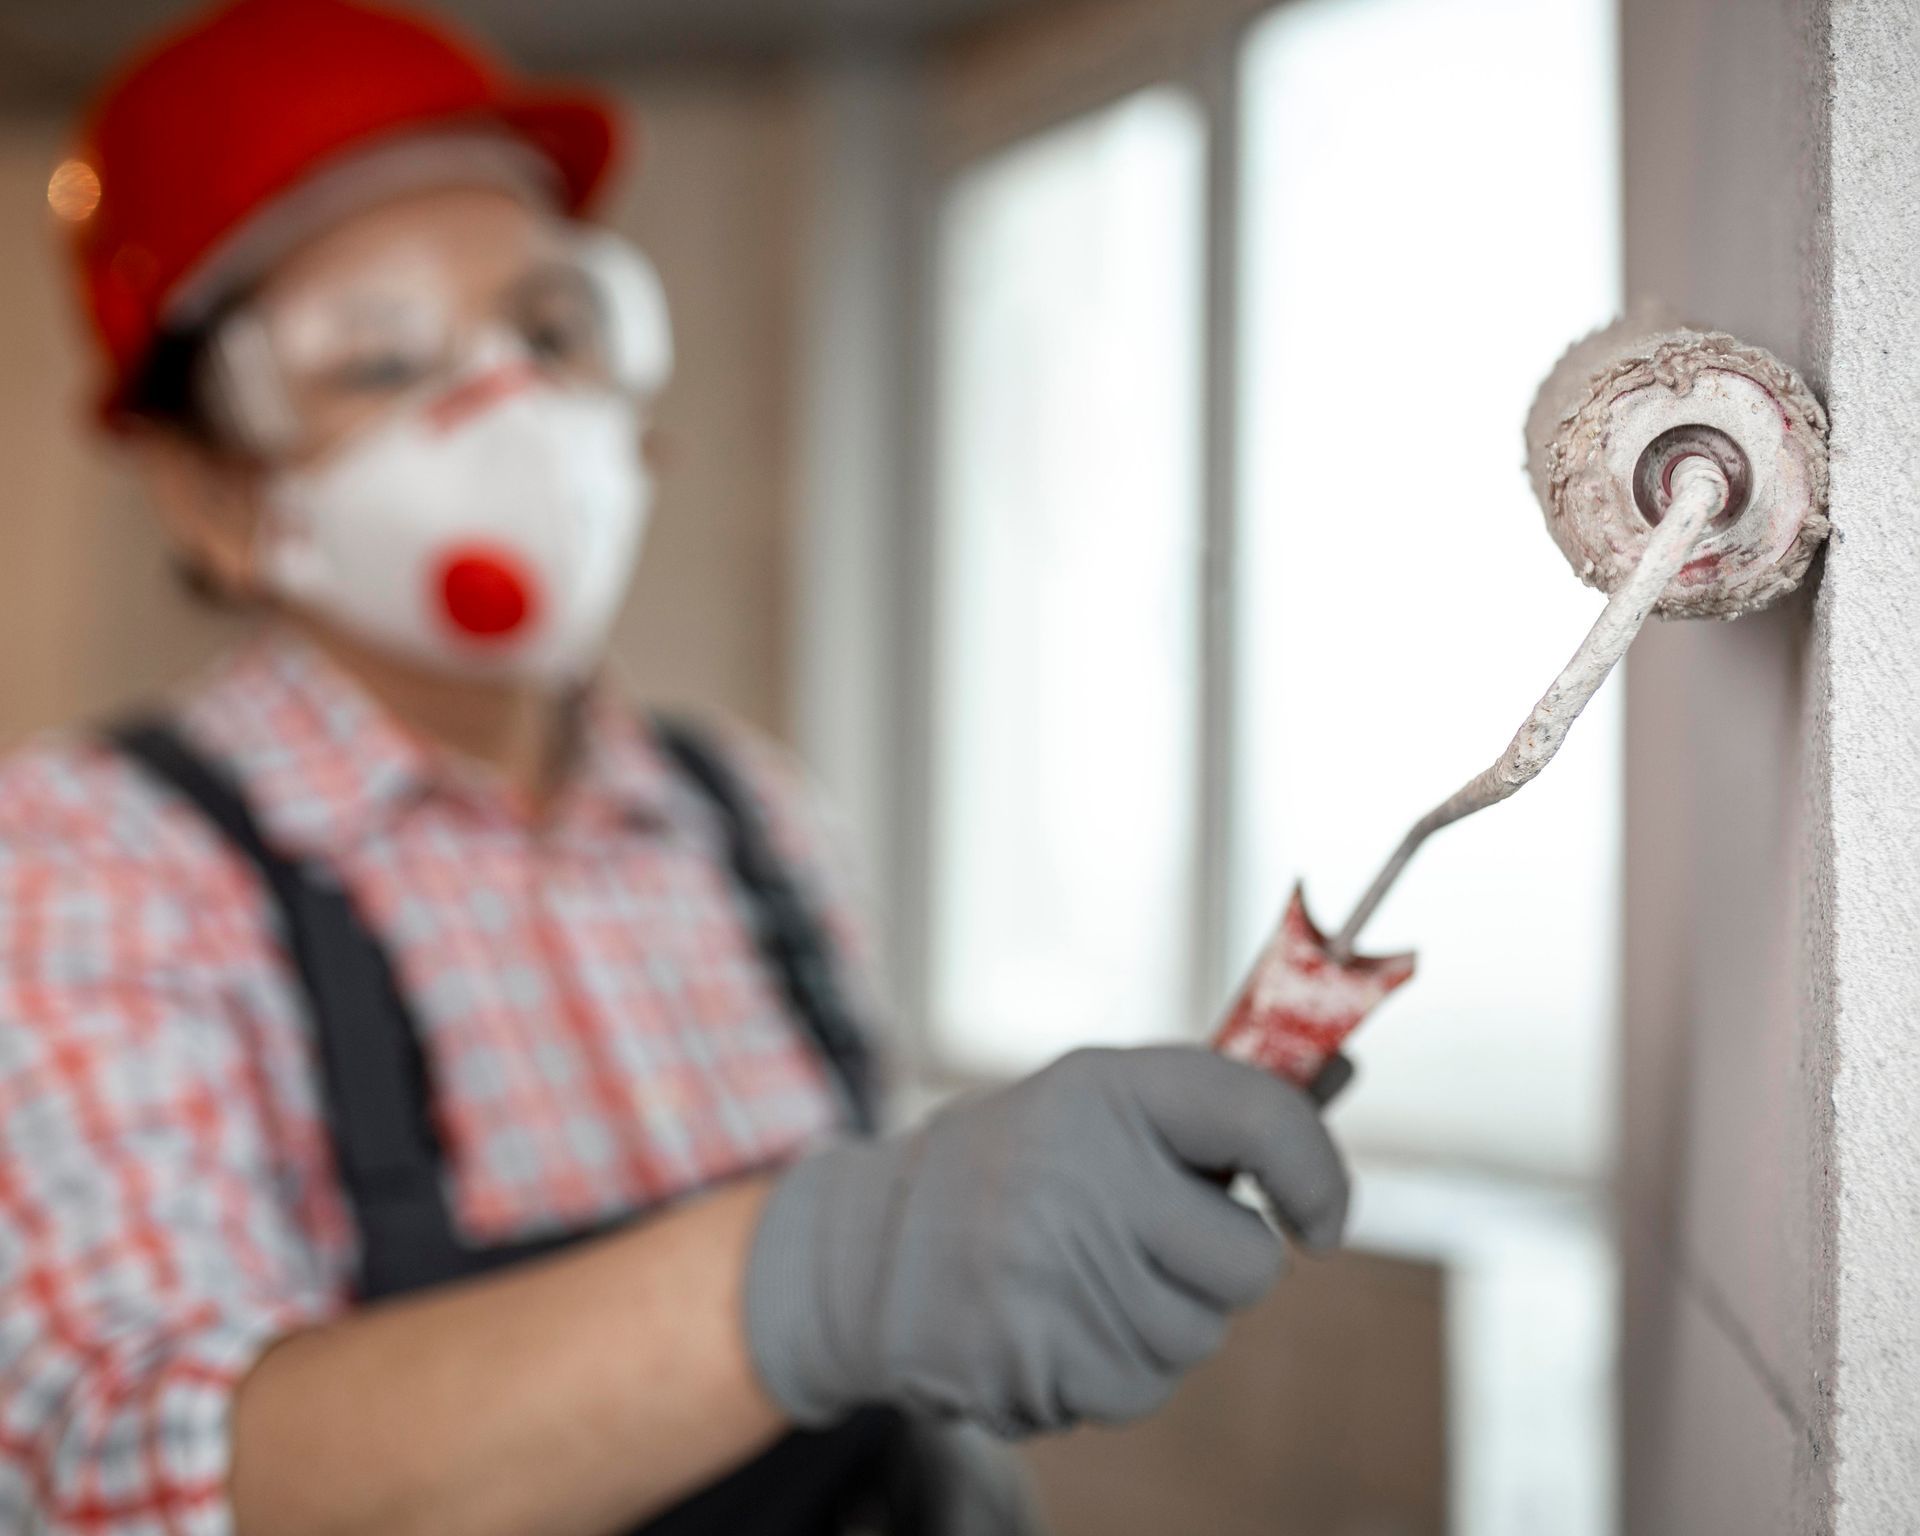
Clean and Repair the Surface
Before you start painting your walls, it's important to clean and repair the surface so that the paint is able to properly adhere. This means wiping down the walls with a damp cloth to remove any dirt, dust, and debris. Additionally, it's important to make sure the walls are completely dry before continuing. Then you should use a lightly abrasive sponge to remove any stubborn grime or marks from the walls. To repair any holes or cracks, you can use spackle before giving the walls a light sanding. This will ensure that the holes are properly filled, and ensure a smoother paint finish. Any excess spackle should then be removed with a damp cloth and you should then let the walls dry completely before starting to paint.
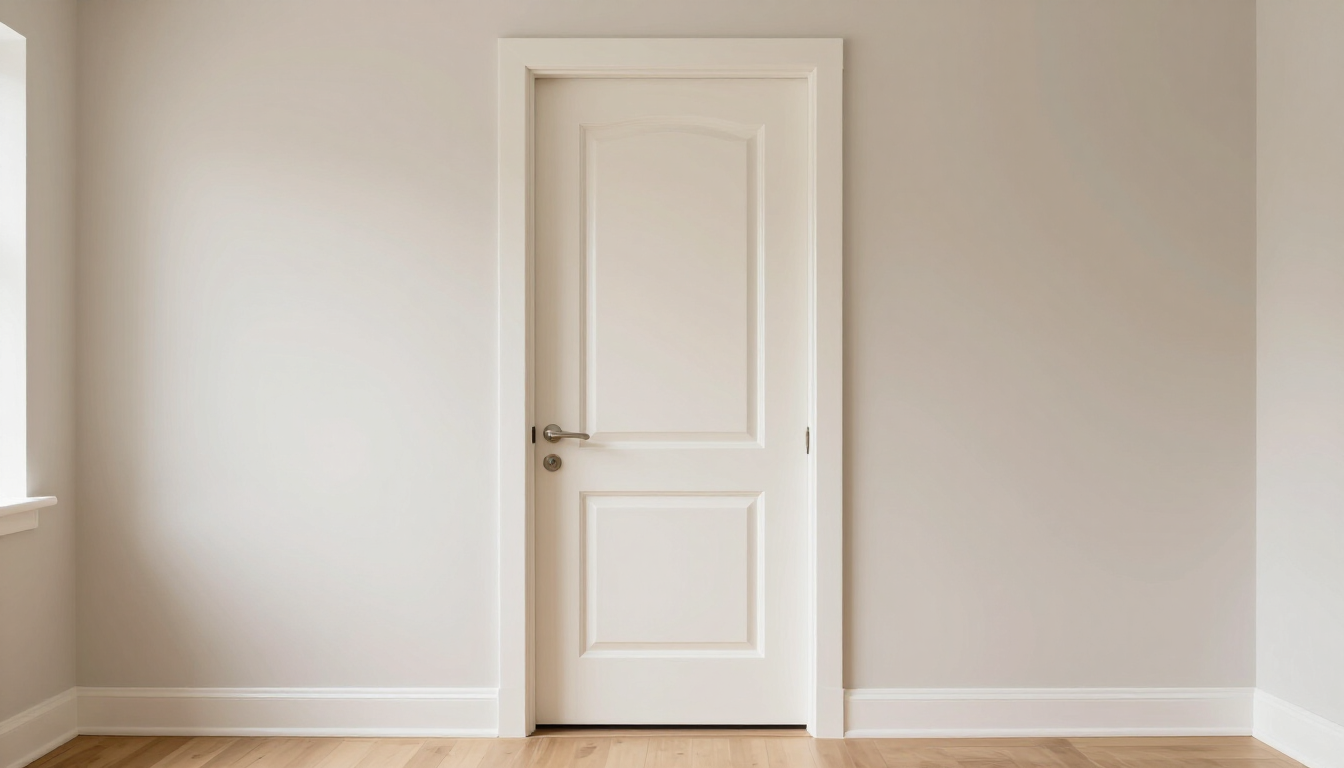
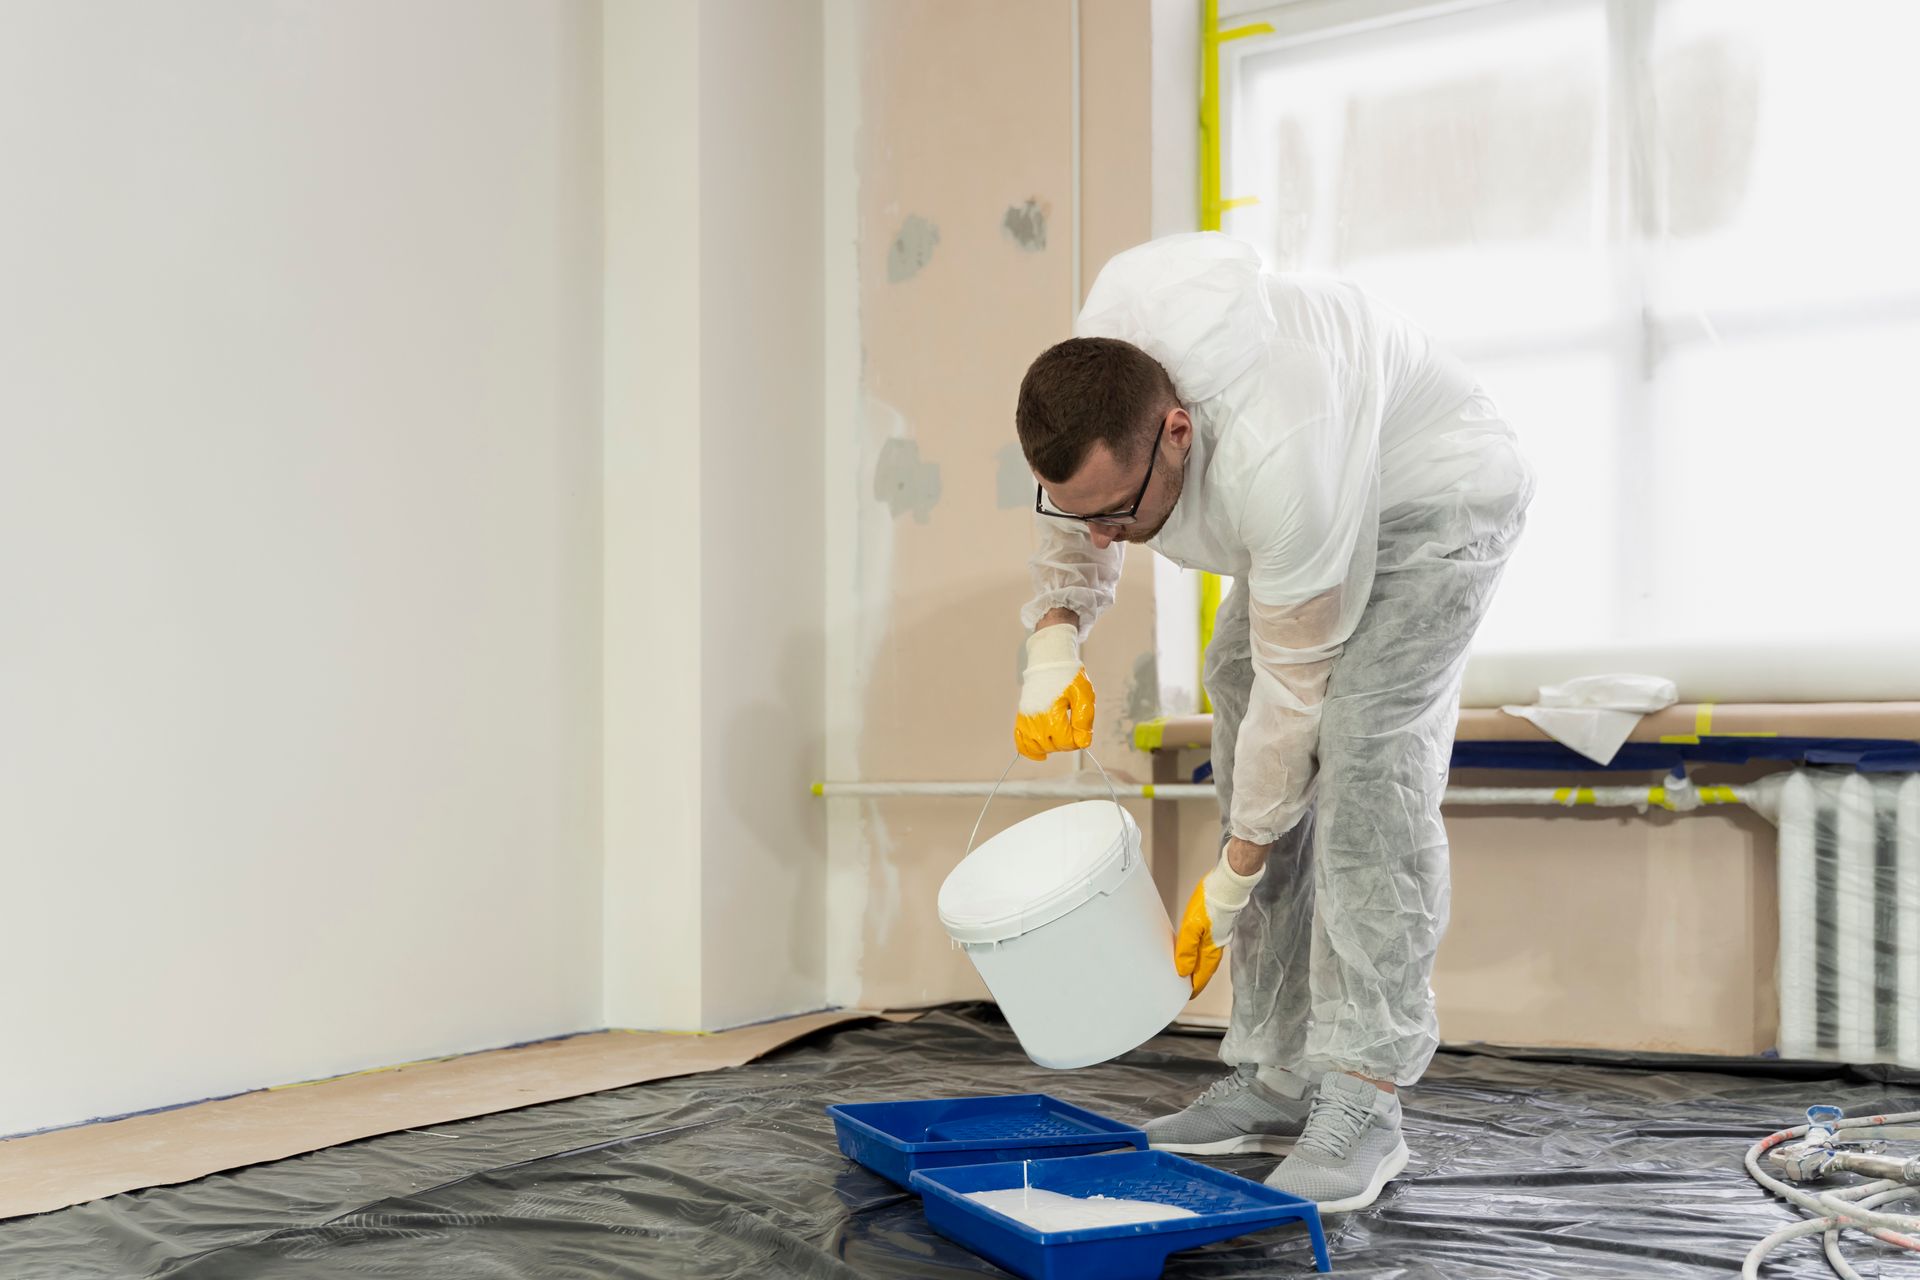
Priming and Taping
After you have cleaned and repaired the surface, the following step is to prime and tape. Priming the wall is essential for a good finish because it helps paints to stick to the material and also gives an even coloring. Once the primer has been applied and dried, put painter's tape all along the edges where you want to create a crisp and clean transition between two different colors or surfaces. This also helps to protect the surface that is not being painted and keep it free of mess or discoloration.
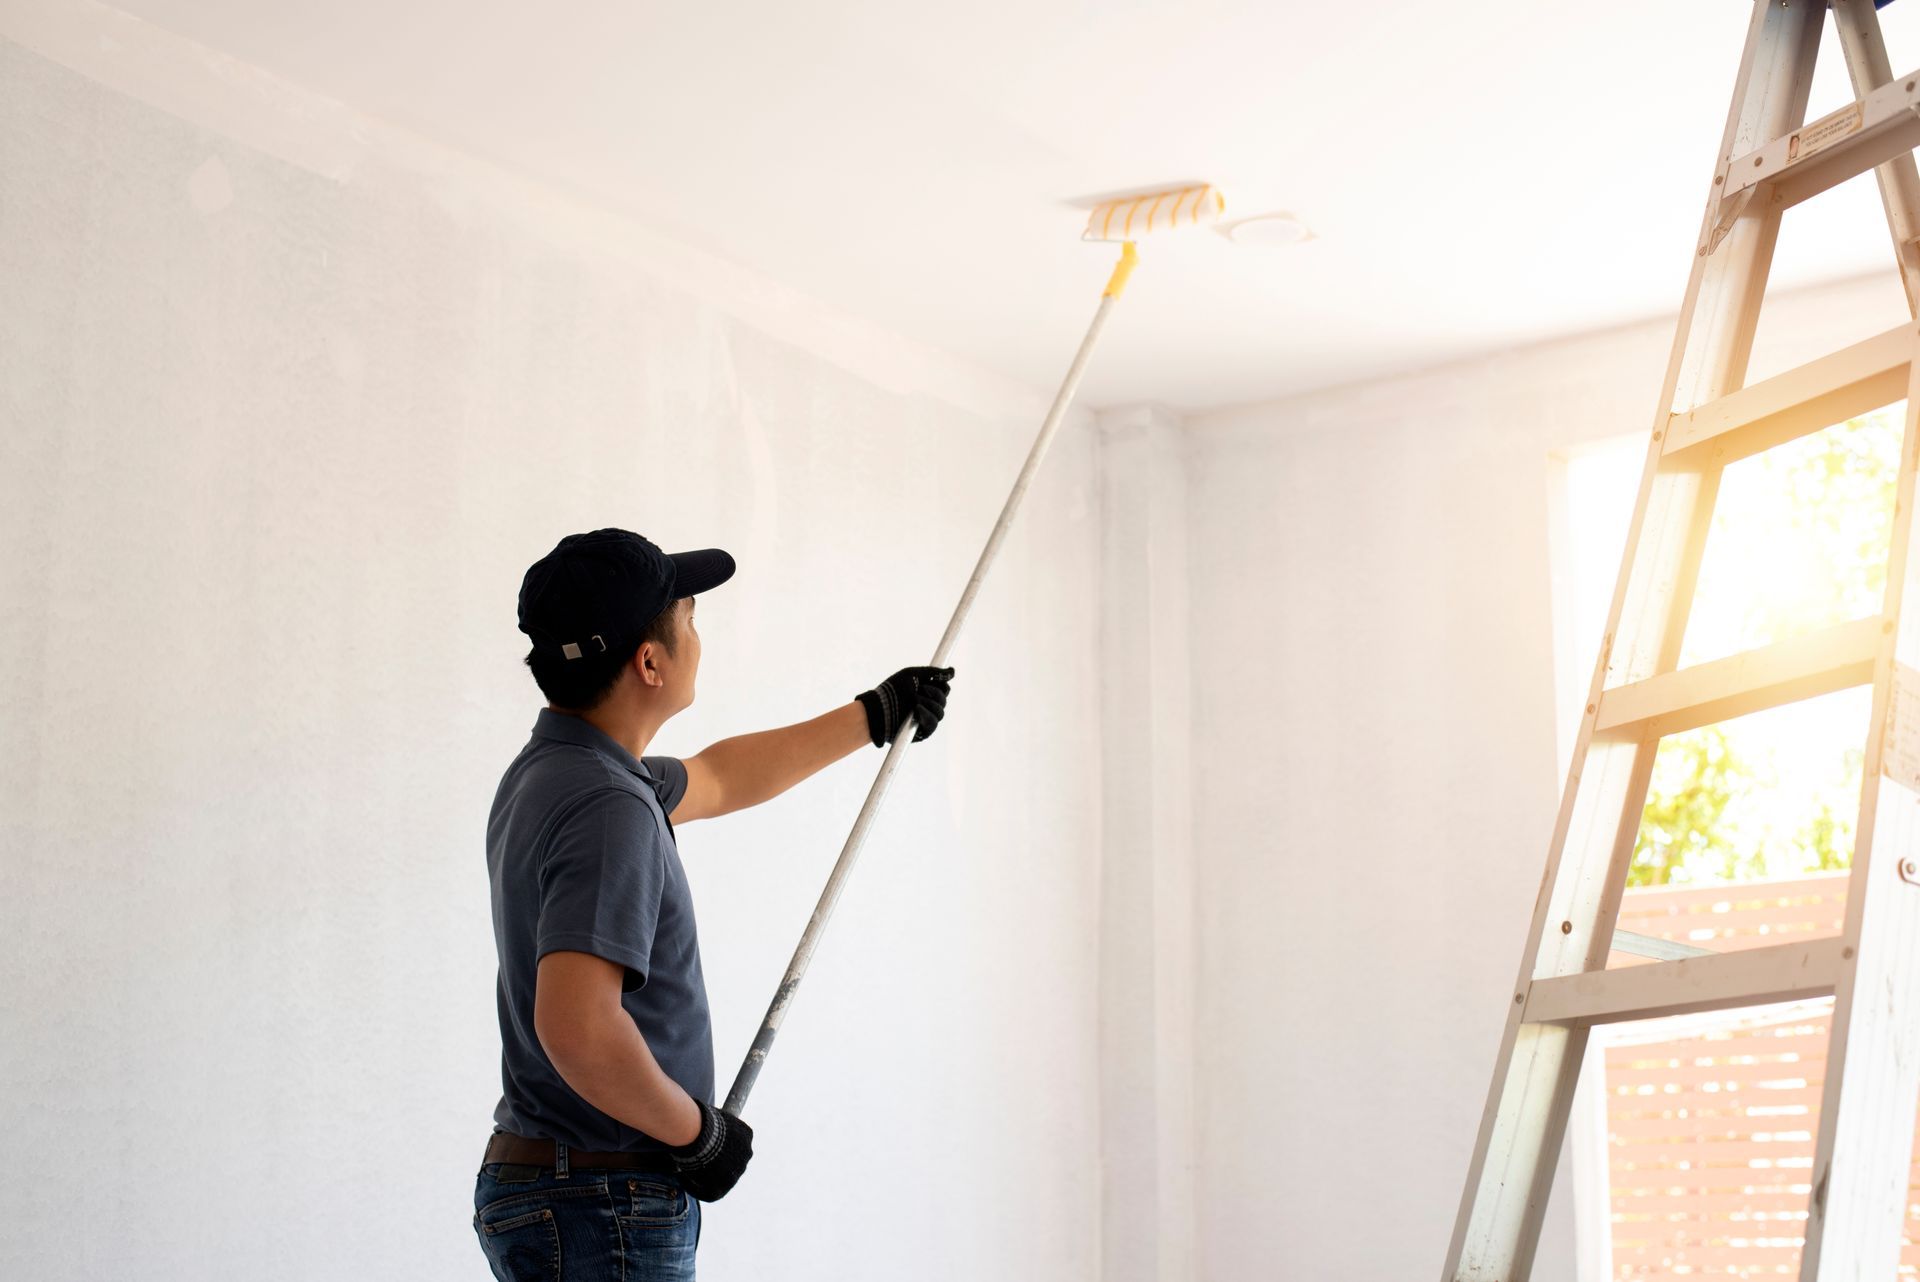
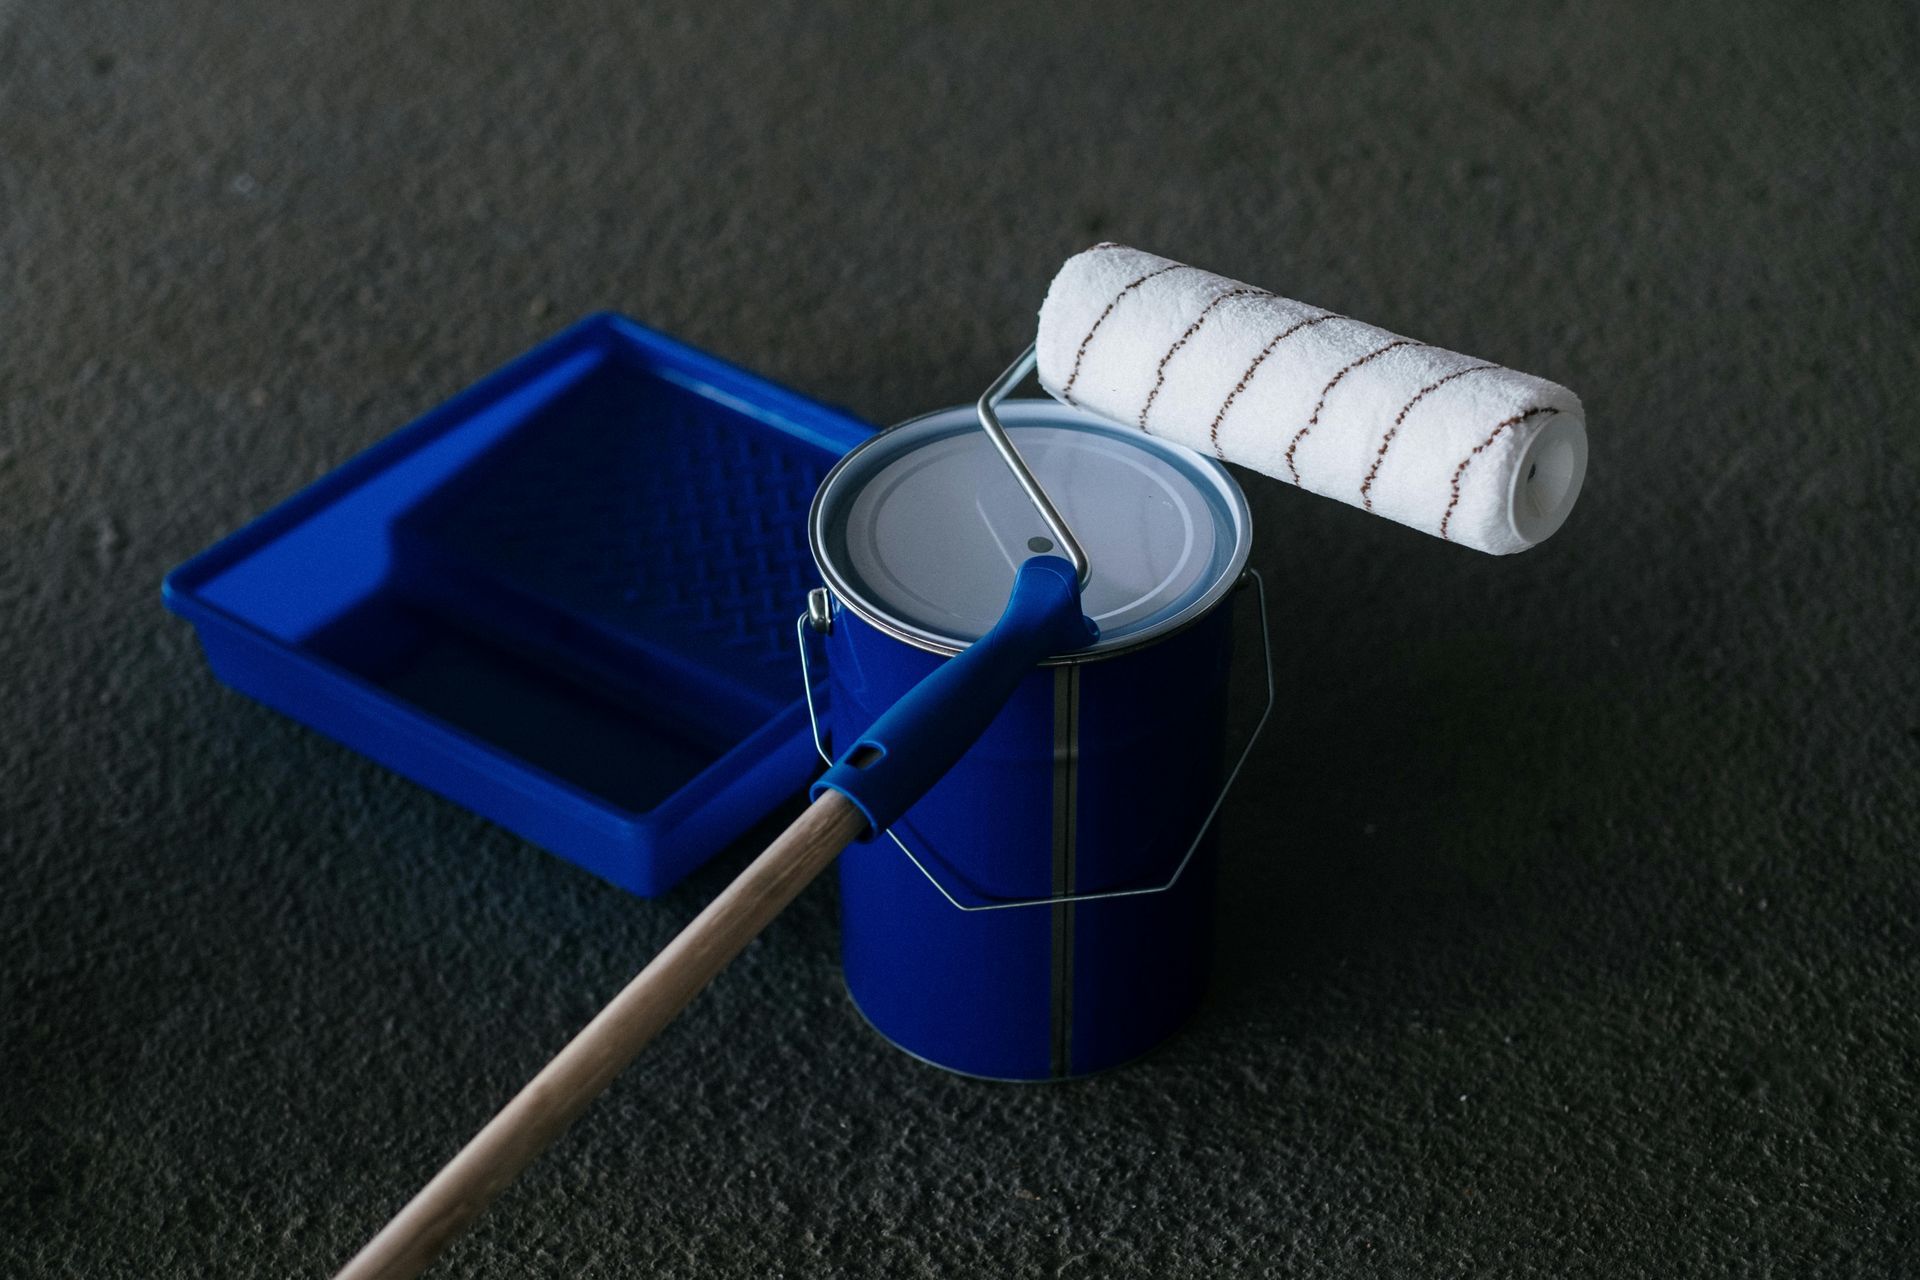
Painting
By now, you're ready to paint! If you’re painting with a roller, start your job near the ceiling and apply the paint in a W-pattern with the roller. This ensures a smooth and even application of the paint. If a brush is chosen for the project, begin near the corners and work your way outwards, using light and even strokes. Make sure to only work in small sections and to overlap these sections as you move outward to give an even paint finish. Once the job is complete, always make sure that the walls are left to dry properly before attempting a second coat – though this may not be necessary, depending on the paint and primer used.
Conclusion
Preparing your walls before painting is essential in order to obtain a professional-looking result and a finish that will last longer. This includes cleaning and degreasing the walls, filling any holes or cracks, and applying a quality primer. With the right supplies and tools, you must then apply the paint properly - using even strokes in the same direction for a nice, smooth finish. Additionally, proper technique should be employed when cutting in to the corners and along the molding. By following these steps, you’ll have no problem painting your interior walls like a pro!