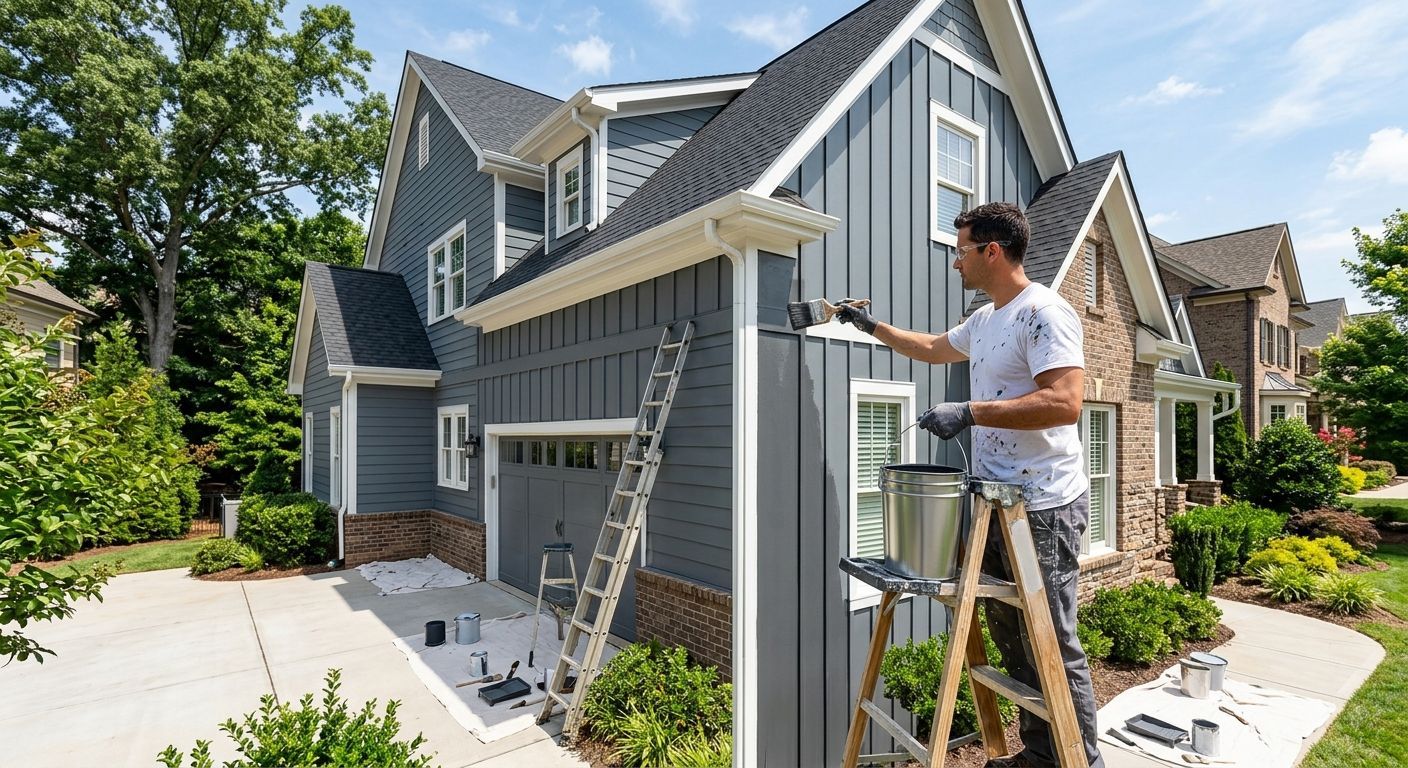
A Smooth Start to a Flawless Finish: A Guide to Preparing Your Walls for Painting
Painting a room is one of the most cost-effective ways to transform your home, giving it a fresh, polished, and vibrant look. However, many homeowners underestimate the importance of preparation before opening a can of paint. Proper wall prep is the key to ensuring a smooth, professional-looking finish that lasts. At
Painting & Moore, Inc., we’ve seen firsthand how skipping the prep stage can lead to costly mistakes and disappointing results.
If you’re considering painting your home in Charlotte, NC, here’s a step-by-step guide on how to prepare your walls before painting to achieve the best possible outcome.
1. Clear and Protect the Area
The first step in preparing your walls is creating a clean, safe, and obstruction-free workspace. Start by removing furniture from the room whenever possible. If moving large pieces isn’t an option, push them to the center of the room and cover them with drop cloths or plastic sheeting to prevent paint splatters.
Next, take down wall décor, artwork, mirrors, and any shelving. Remember to remove switch plates, outlet covers, and light fixtures for easier access to the entire wall. Protect your floors with heavy-duty canvas drop cloths, which are more durable and less slippery than plastic.
By setting up a protected workspace, you’ll avoid unnecessary mess and give yourself room to move freely during painting.
2. Clean the Walls Thoroughly
Many people assume that walls are already clean enough to paint over, but even invisible dust, oils, or stains can prevent paint from adhering properly. Cleaning your walls is an essential step that shouldn’t be skipped.
Use a mild detergent mixed with warm water to wipe down the walls with a sponge. Pay special attention to areas near light switches, kitchens, and bathrooms where grease and grime tend to accumulate. For stubborn stains, such as crayon marks or smoke residue, use a stronger cleaning solution like trisodium phosphate (TSP), but be sure to follow the manufacturer’s instructions carefully.
After washing, use fresh water to rinse the walls and then let them dry fully. Skipping this step could result in uneven paint coverage or peeling later on.
3. Repair Imperfections and Smooth the Surface
Even the best paint won’t hide dents, holes, or cracks. For a flawless finish, repairing wall imperfections is essential. Start by inspecting the surface for damage. Small nail holes or dings can be filled with spackling compound, while larger cracks may require joint compound or patching kits.
After applying filler, use a putty knife to smooth the surface, then allow it to dry completely. Once dry, sand the patched areas lightly with fine-grit sandpaper until they blend seamlessly with the rest of the wall.
Sanding isn’t just for patched spots—lightly sanding the entire wall helps remove gloss from old paint and creates a slightly rough surface, which improves paint adhesion. Don’t forget to wipe away dust with a damp cloth or tack cloth after sanding to ensure a clean canvas.
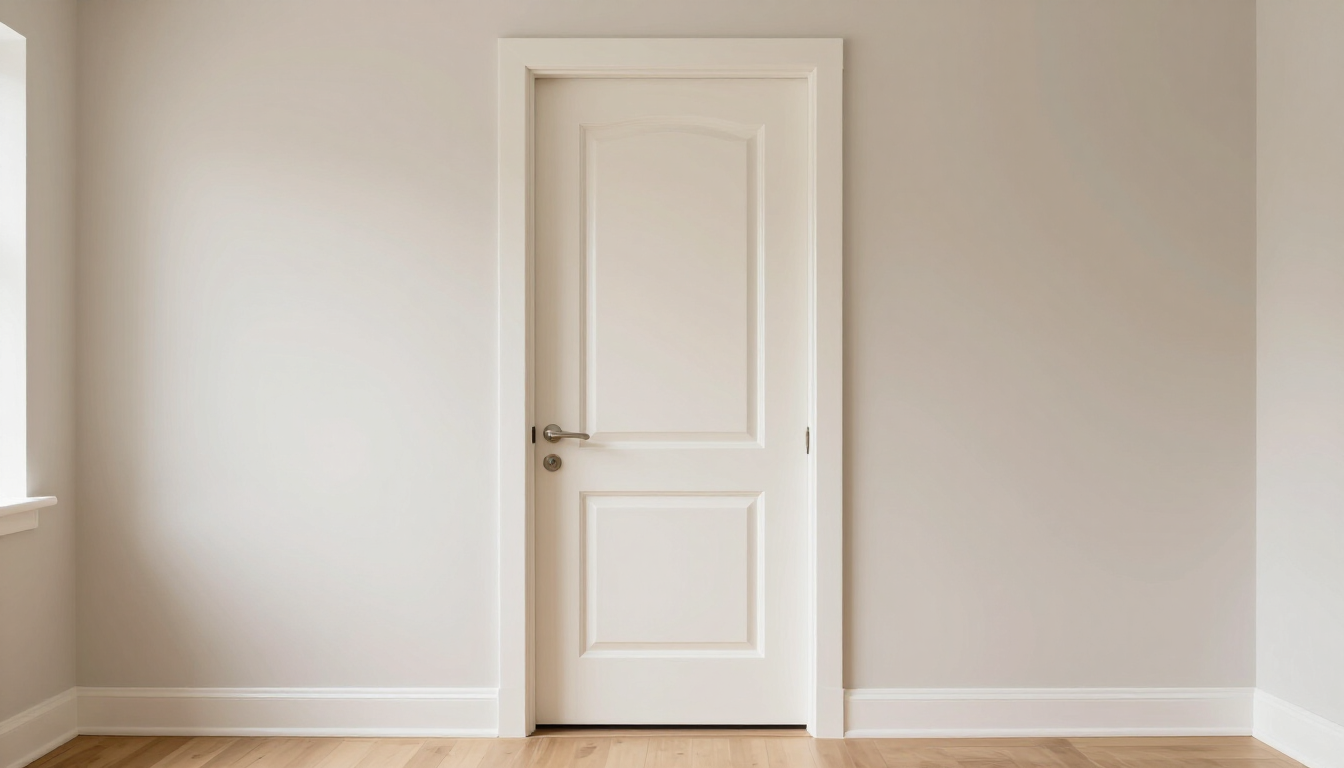
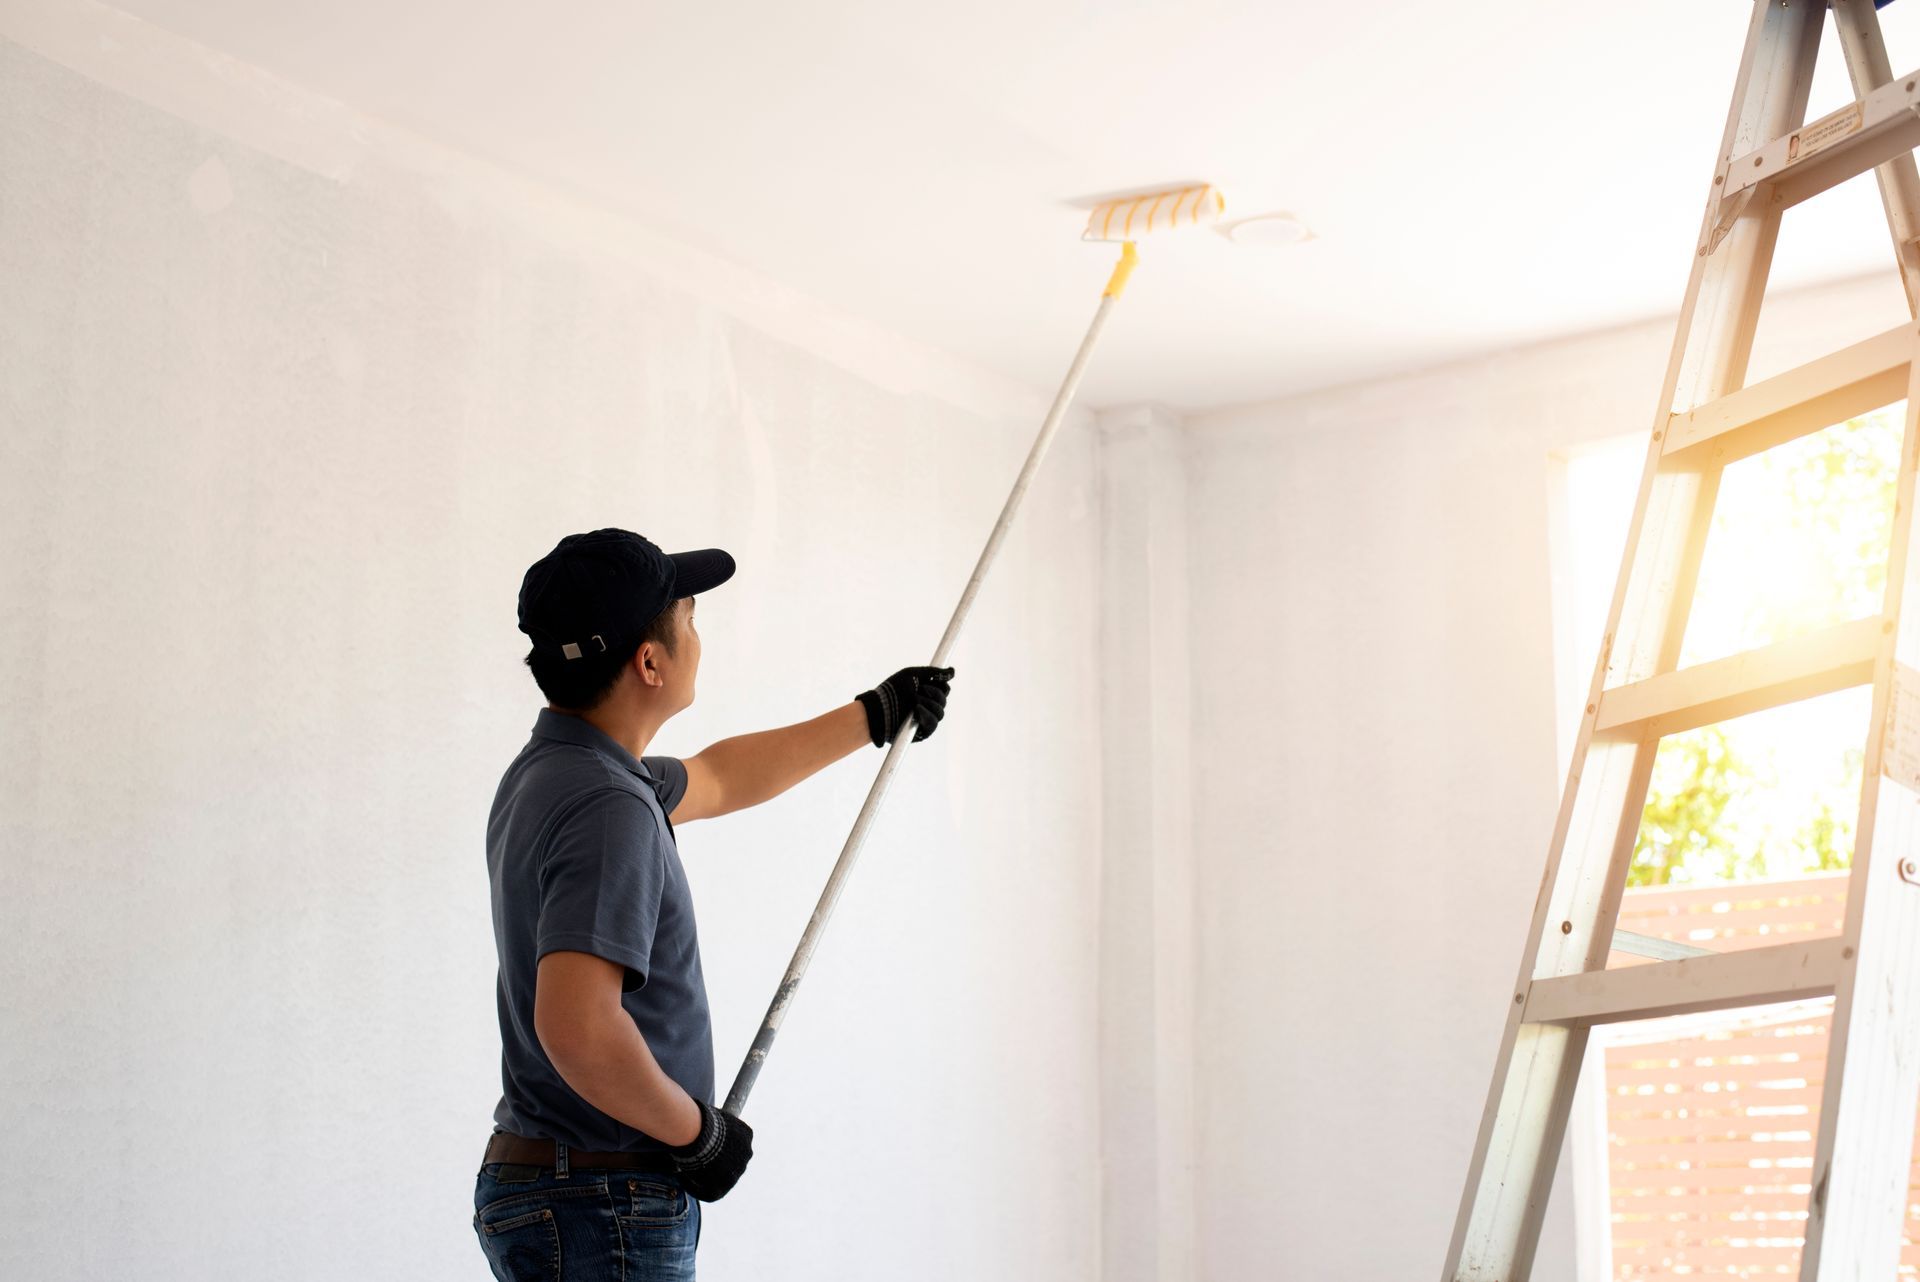
4. Apply Painter’s Tape and Prime the Walls
Painter’s tape is your best friend when it comes to achieving crisp, clean edges. Apply it along trim, baseboards, window frames, and door frames before you begin painting. Push the tape down securely to keep paint from seeping beneath it.
In many cases, applying a primer is the next critical step. Primer serves several purposes: it covers stains, blocks odors, evens out the wall’s surface, and helps the paint bond better. This is especially important if you’re painting over dark colors with a lighter shade, or if your walls have never been painted before.
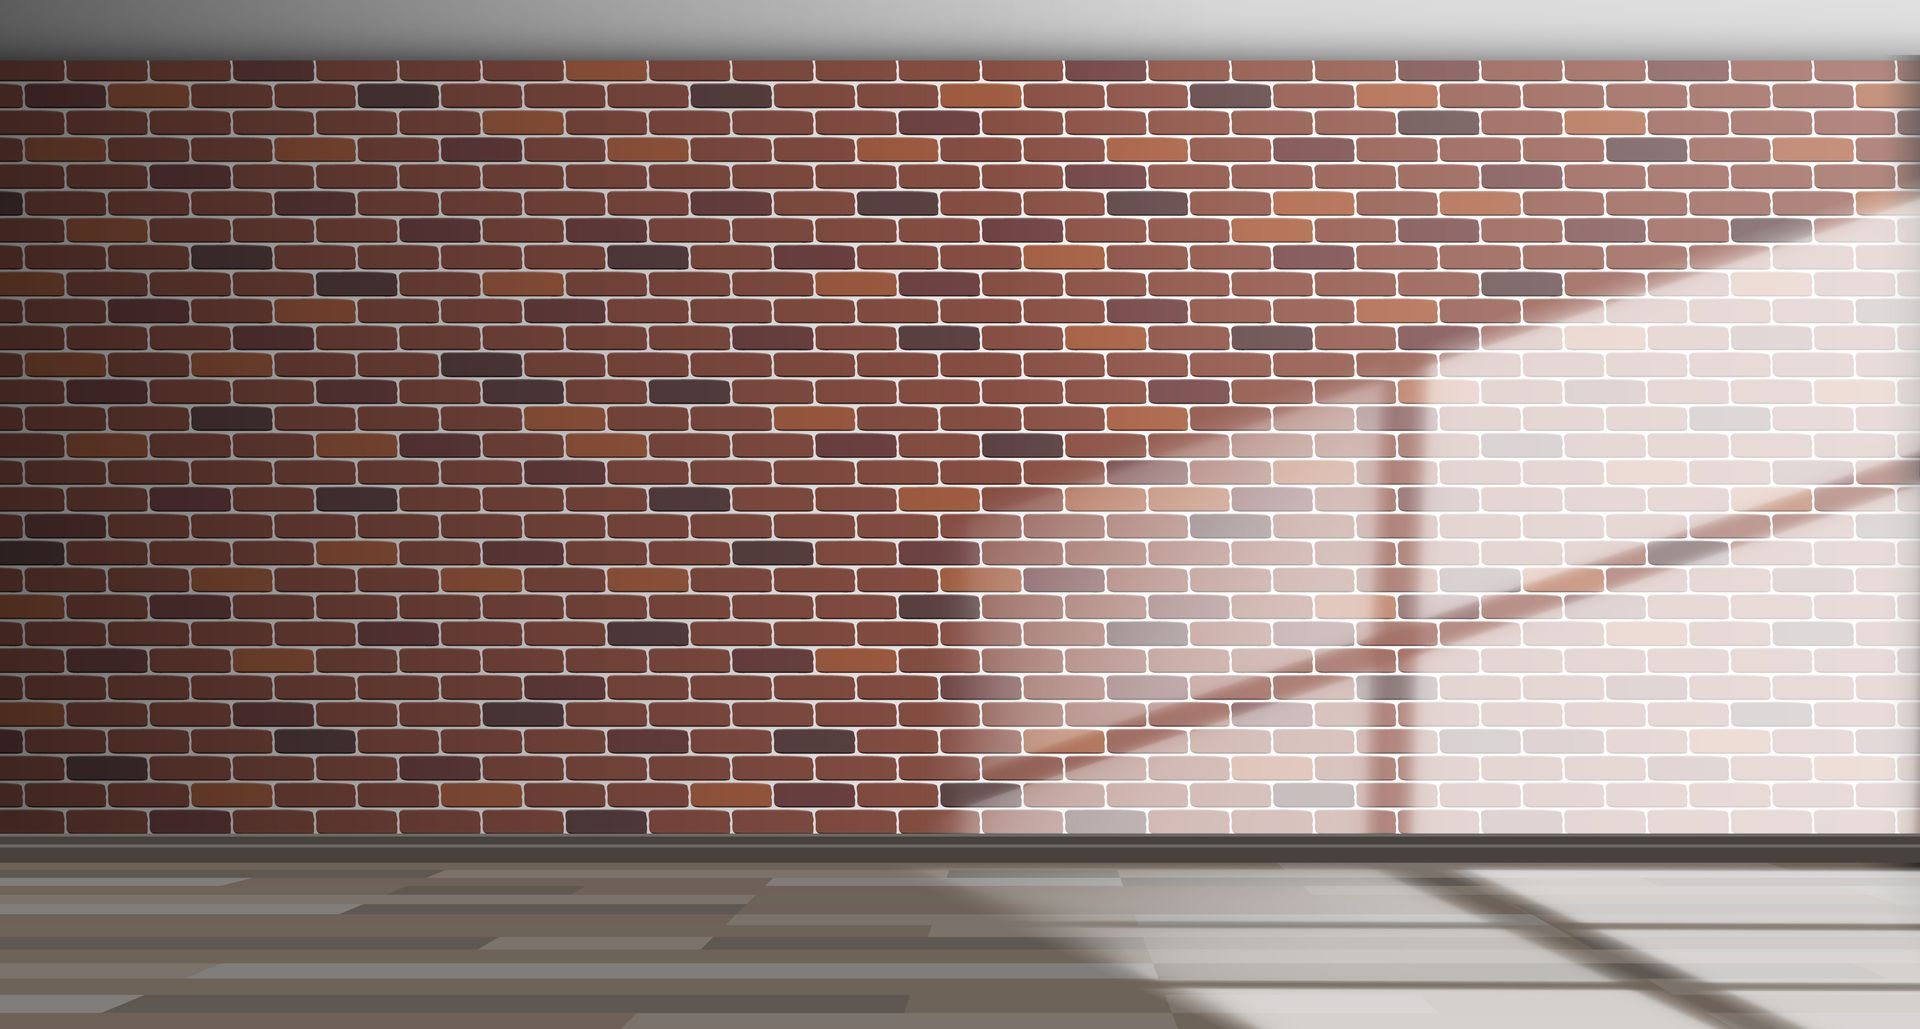
Choose a high-quality primer designed for your specific wall surface, whether it’s drywall, plaster, or masonry. Give the primer plenty of time to dry before putting on your final coat of paint.
5. Final Inspection and Readiness Check
Before opening the paint can, take a few moments to inspect the room one last time. Look for missed spots in patching, areas where dust may have settled, or painter’s tape that isn’t sealed properly. It’s much easier to make adjustments before paint goes on the wall.
Check that the room is well-ventilated by opening windows or using fans. Good airflow helps the paint dry evenly and minimizes odors. Ensure you have all necessary tools within reach, including brushes, rollers, trays, and stir sticks.
By taking these final precautions, you’ll set yourself up for a smooth painting process and a professional-quality finish.
Why Proper Preparation Matters
Prepping your walls isn’t just about looks—it’s about protecting your investment. A freshly painted room can last for years if the surface beneath the paint is properly prepared. Without cleaning, sanding, patching, and priming, you may encounter peeling, bubbling, or uneven coverage within months.
At Painting & Moore, Inc., we know that preparation is just as important as the painting itself. Our team follows proven methods to ensure your walls are fully ready before we apply the first coat, guaranteeing a flawless finish that stands the test of time.
Contact Painting & Moore, Inc. for High Quality Painting Services
If you’re planning a painting project in Charlotte, NC, let the professionals handle it. At
Painting & Moore, Inc., we specialize in both residential and commercial painting, and our attention to detail ensures exceptional results every time. From thorough prep work to expert application, we make your vision come to life. Whether you need
interior or
exterior painting,
deck staining, or
wallpaper removal, we’ve got you covered.
Call us today at (704) 567-7781 to schedule a consultation and transform your space with the help of our experienced team.
Frequently Asked Questions
Do I really need to clean my walls before painting?
Yes, cleaning your walls is essential. Dirt, grease, and dust can prevent paint from adhering properly, leading to uneven coverage or peeling. A clean surface leads to a smooth, durable finish.
Can I paint over old paint without sanding?
While it’s possible, sanding helps create a surface that new paint can grip onto. Skipping sanding may cause the new paint to peel or chip more easily. Light sanding is highly recommended for the best results.
Is primer always necessary before painting?
Not always, but primer is strongly recommended if you’re painting over dark colors, raw drywall, or stained surfaces. It helps with adhesion, coverage, and durability of the topcoat.
How long should I wait after cleaning the walls before painting?
Walls should be completely dry before you start painting. Depending on the cleaning method and room ventilation, this could take a few hours. Painting on damp walls can lead to peeling or bubbling.
What’s the best way to protect my trim and floors during painting?
Use high-quality painter’s tape on trim and baseboards, and cover floors with durable drop cloths. This prevents accidental drips or smudges and saves time on cleanup.