From Dull to Dazzling: A Step-by-Step of Painting Interior Walls the Right Way
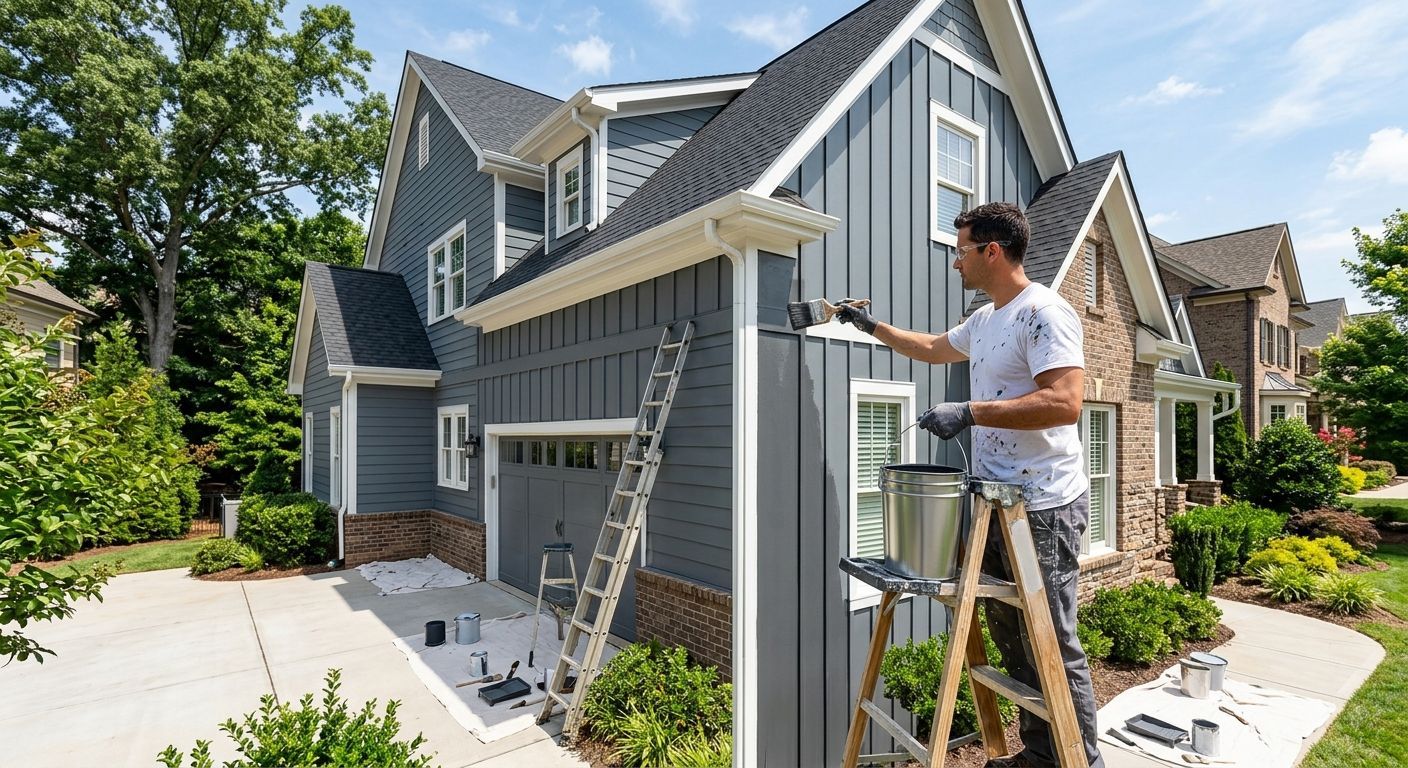
Freshly painted walls have the power to completely transform a home. Whether you want to brighten a single room or refresh your entire interior, professional interior painting delivers noticeable results that improve comfort, aesthetics, and property value. However, painting interior walls the right way requires more than just picking a color and rolling paint onto the surface.
At
Painting & Moore, Inc, we provide high-quality
interior painting services throughout Charlotte, NC. In this guide, we walk you through the step-by-step process of painting interior walls correctly so you understand what goes into achieving a smooth, long-lasting finish that truly dazzles.
Step 1: Planning and Preparation for Interior Painting Success
Proper planning is the foundation of every successful interior painting project. Before a single brush touches the wall, careful decisions must be made regarding colors, finishes, timelines, and room usage.
Choosing the right paint color sets the tone for each space. Lighter shades can make rooms feel larger and brighter, while deeper tones add warmth and depth. Finish selection is equally important. Flat finishes hide imperfections but are harder to clean, while satin and semi-gloss finishes offer durability and moisture resistance for kitchens, bathrooms, and high-traffic areas.
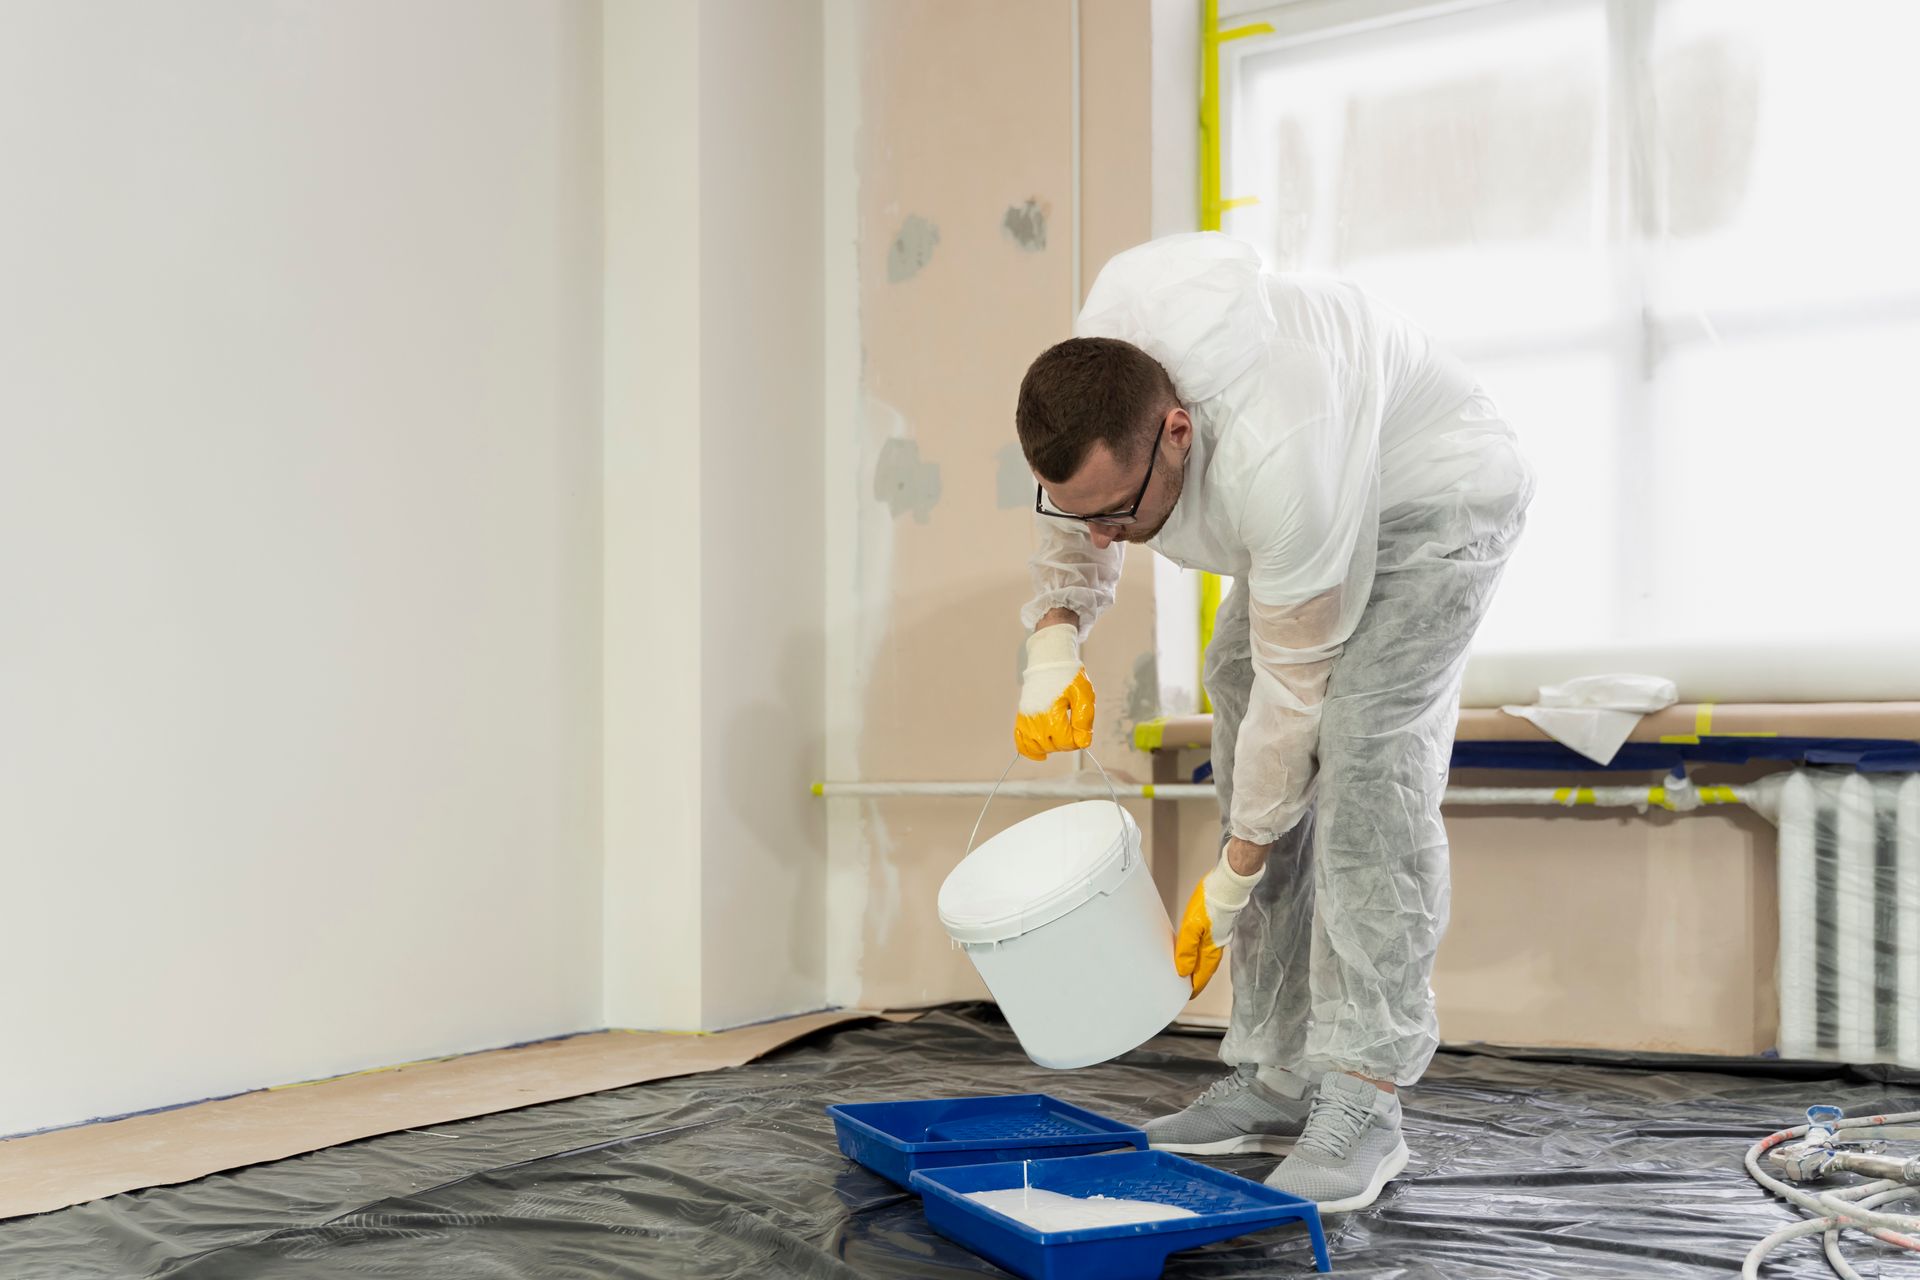
Preparation also involves protecting furniture, flooring, and fixtures. Drop cloths, plastic coverings, and painter’s tape ensure that surrounding surfaces remain clean and undamaged. Skipping this step often leads to messy results and costly fixes later.
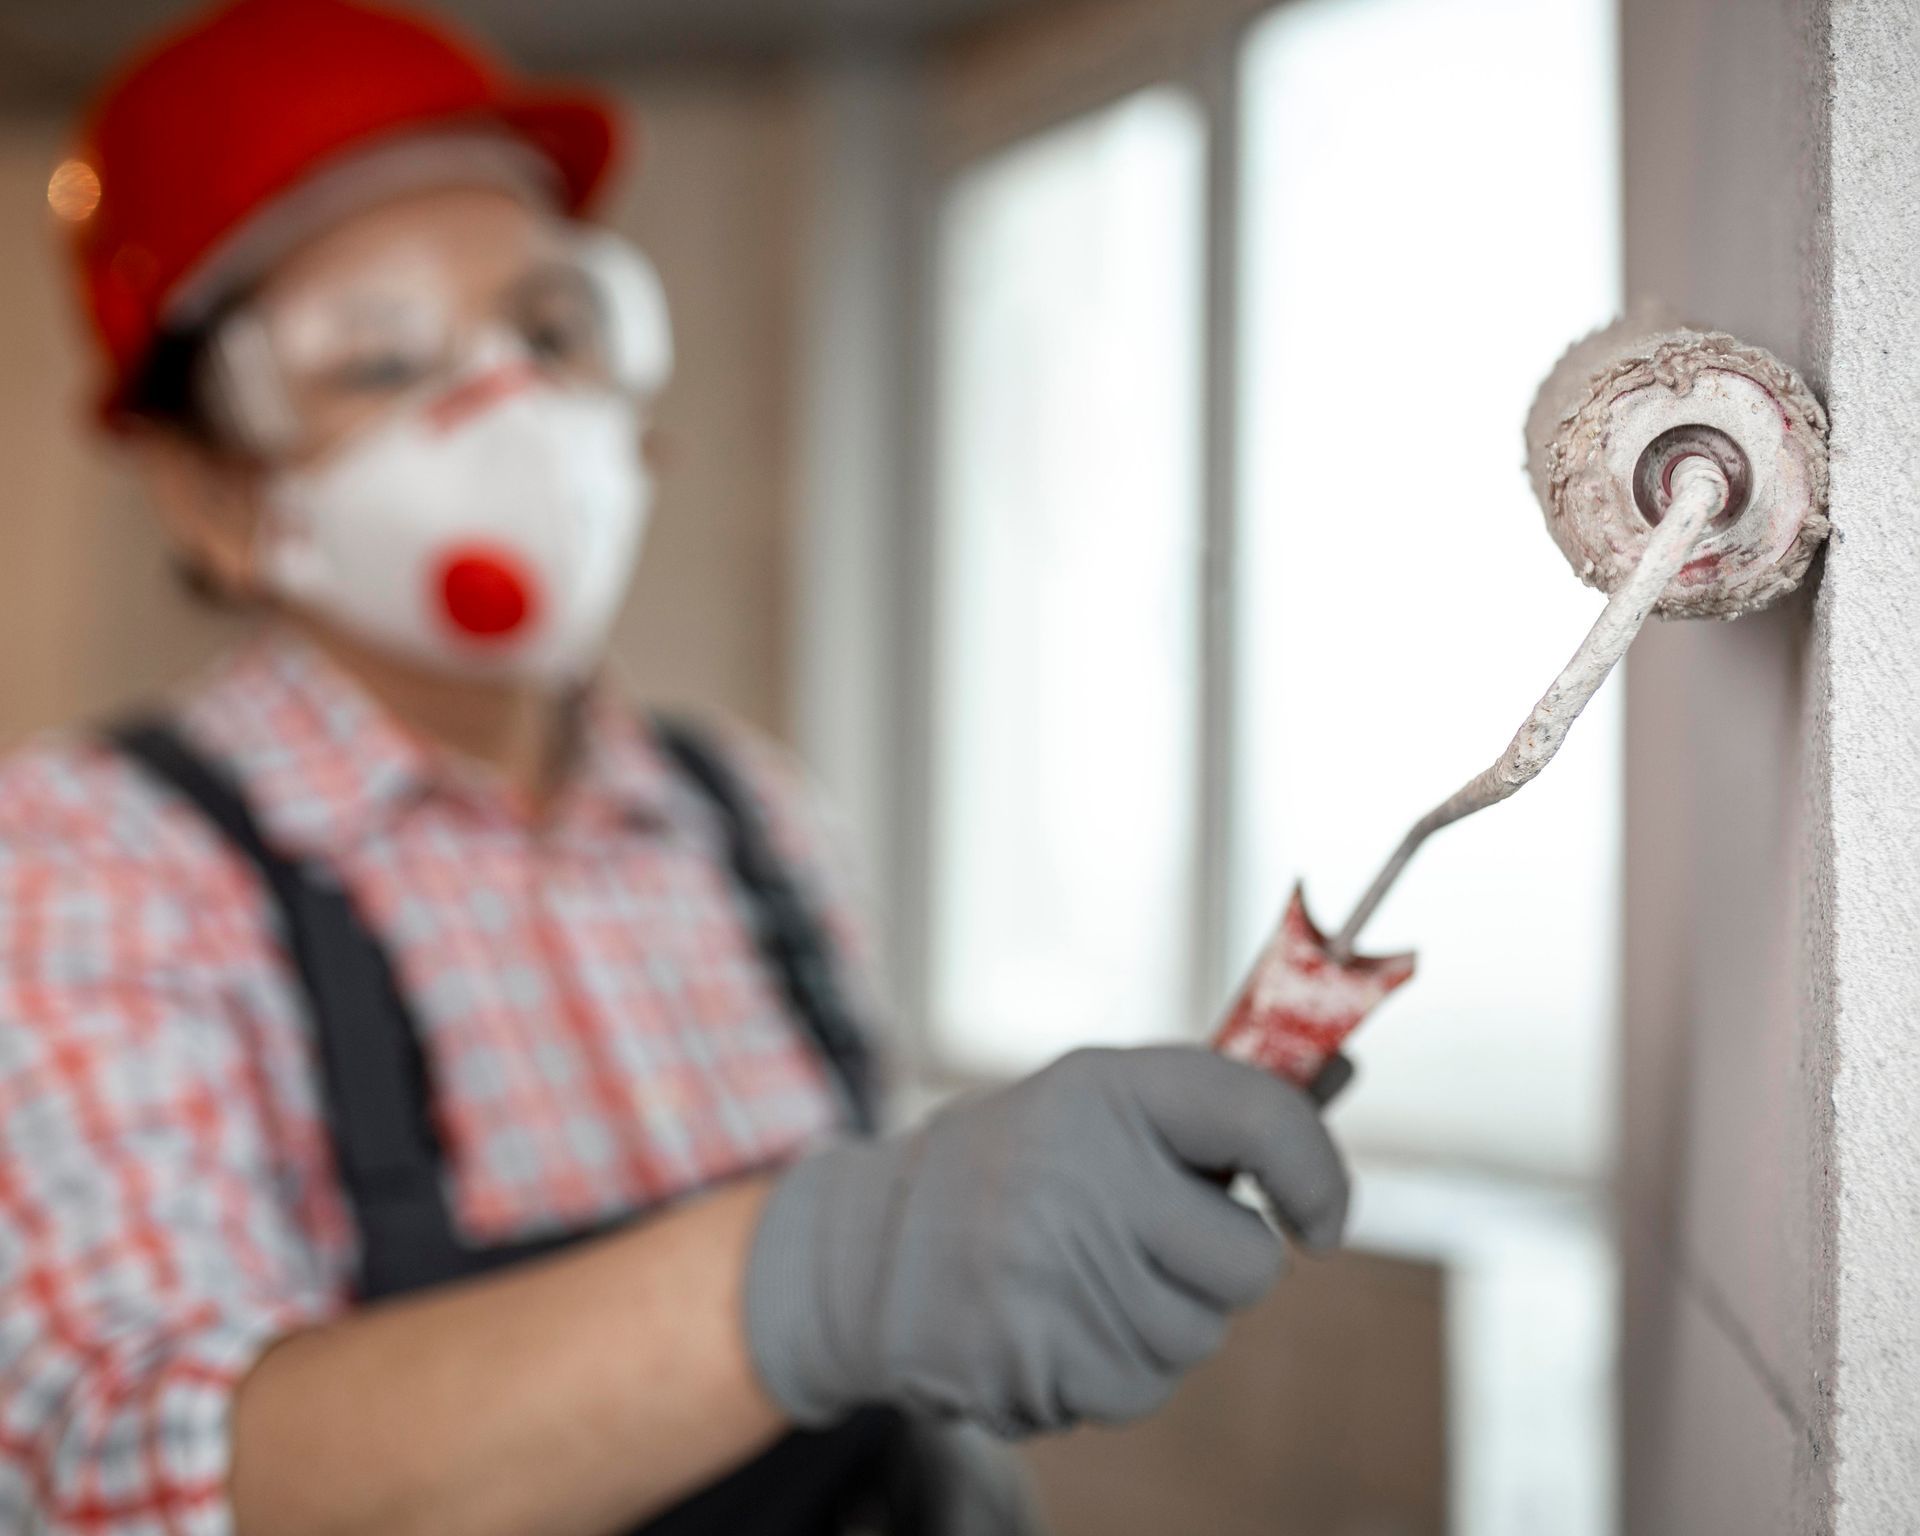
Step 2: Surface Cleaning and Repair Before Painting Interior Walls
Even the highest-quality paint will fail if applied to dirty or damaged walls. Surface preparation is one of the most critical steps in painting interior walls the right way.
Walls are first cleaned to remove dust, grease, and residue that can prevent paint from adhering properly. Kitchens and bathrooms often require special attention due to grease buildup or moisture exposure.
Next comes repairing imperfections. Nail holes, cracks, dents, and uneven surfaces are patched using professional-grade fillers and compounds. Once dry, these areas are sanded smooth to blend seamlessly with the surrounding wall. This step ensures the finished surface looks flawless instead of highlighting old damage.
Experienced interior painting specialists recognize that while the preparation phase requires a significant time investment, it is a vital step for ensuring a flawless and durable finish.
Step 3: Priming Walls for Long-Lasting Results
Primer is often overlooked by homeowners attempting DIY interior painting, but it plays a vital role in achieving professional-quality results.
Priming helps paint adhere evenly to the wall while blocking stains and preventing old colors from bleeding through. It is especially important when painting over dark colors, repaired areas, or surfaces with inconsistent textures.
Primer also creates a uniform base that allows the topcoat to display its true color. Without primer, walls may appear blotchy or require additional coats of paint, increasing both time and cost.
By using the correct primer for each surface, professional painters ensure your interior painting project maintains its beauty for years to come.
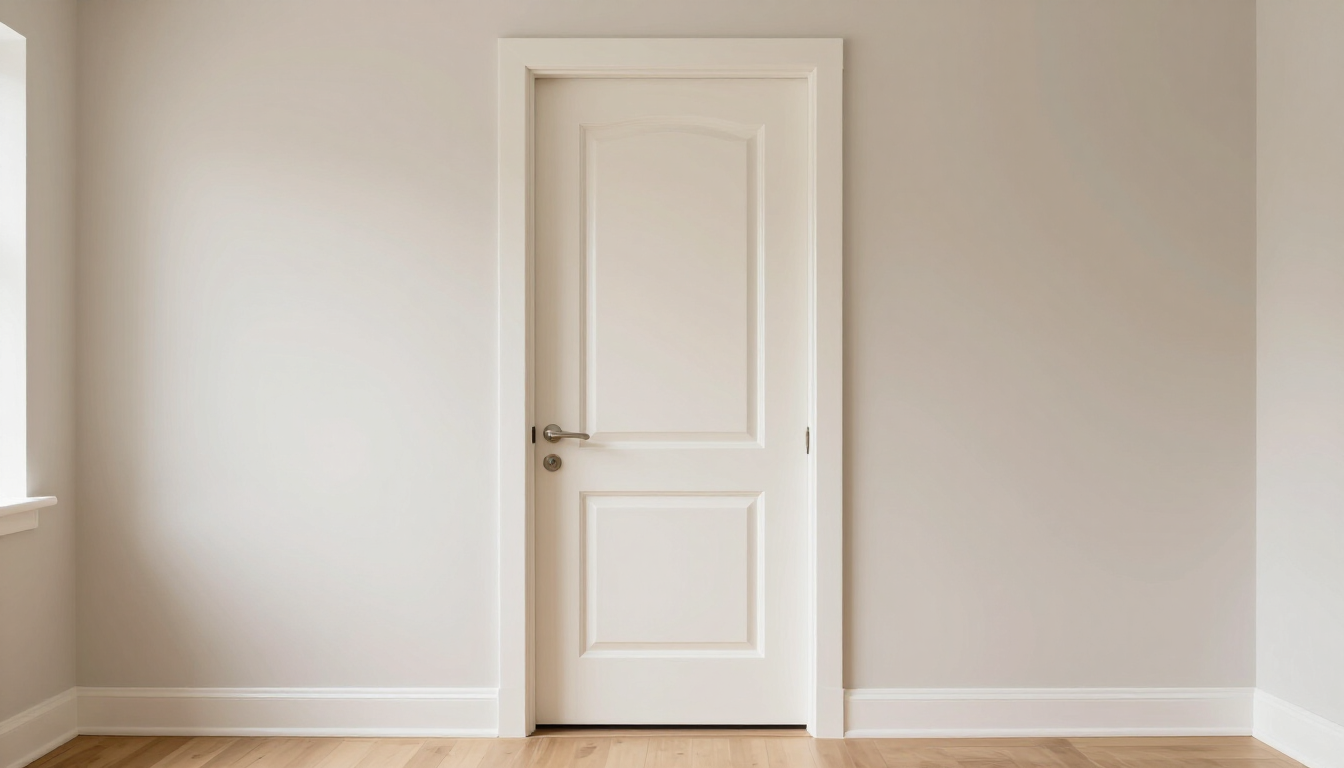
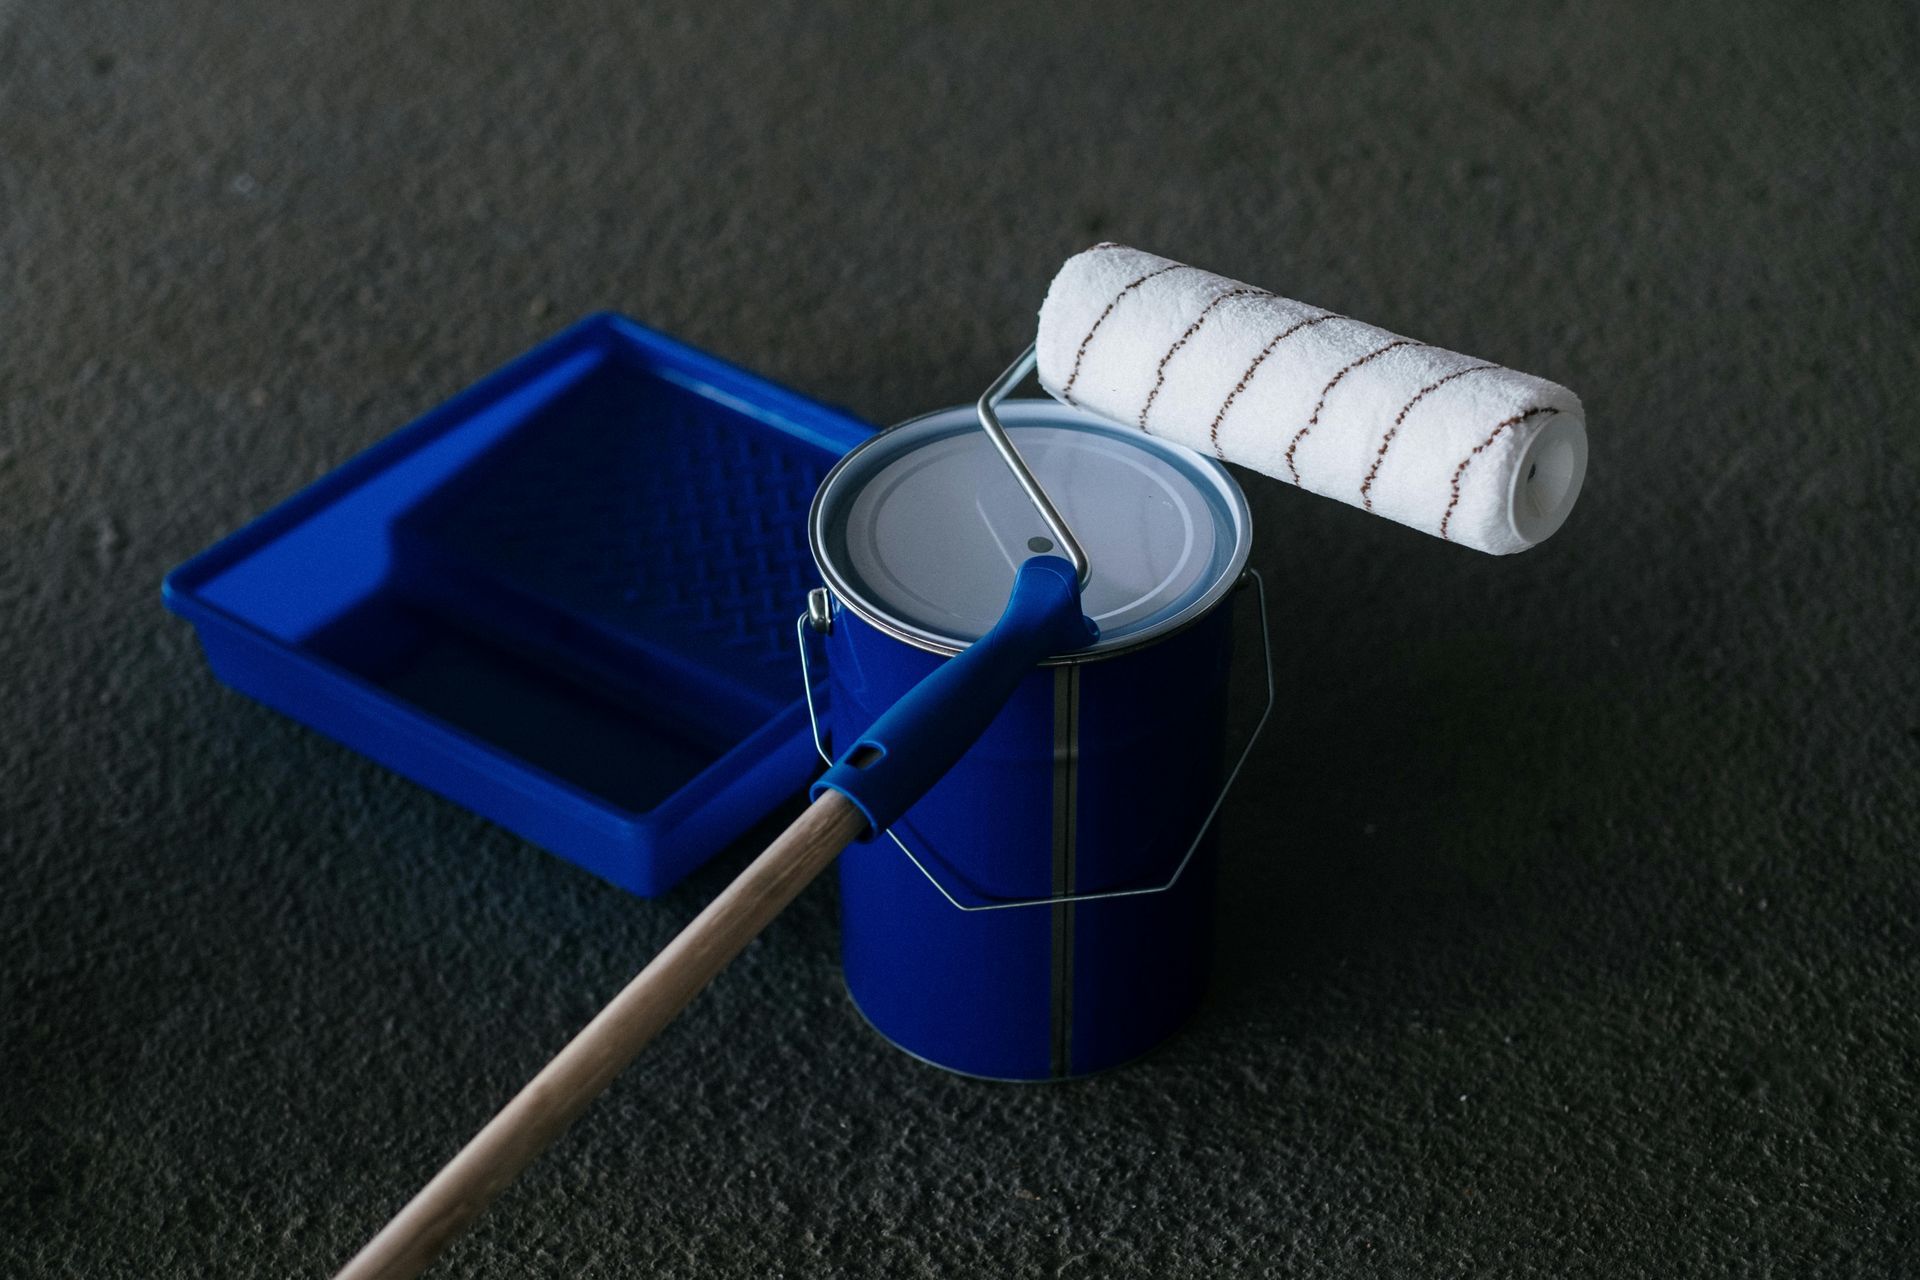
Step 4: Painting Interior Walls with Proper Technique
Once preparation and priming are complete, the actual painting process begins. This is where technique truly matters.
Professional painters use a combination of brushes and rollers to achieve even coverage and clean lines. Edges and corners are carefully cut in before rolling the larger sections of the wall. Rolling is done using consistent pressure and overlapping strokes to eliminate streaks and roller marks.
Applying several light layers of paint is more effective than attempting to finish the job with a single heavy application. This approach allows each layer to dry properly and results in a smoother, more durable finish. Proper drying time between coats is essential to prevent peeling, cracking, or uneven texture.
Expert interior painting delivers a consistent appearance that enhances lighting, complements décor, and elevates the entire space.
Step 5: Final Touches and Clean-Up for a Professional Finish
The final stage of painting interior walls focuses on details and cleanup. After the last coat dries, painters inspect the walls for missed spots, uneven areas, or minor flaws that need correction.
Painter’s tape is carefully removed to reveal crisp edges, and fixtures are reinstalled once surfaces are fully cured. Furniture is returned to its original position, and protective coverings are removed.
A thorough cleanup ensures your home is left neat and ready to enjoy. This attention to detail is what separates professional interior painting services from rushed or incomplete work.
Why Professional Interior Painting Makes a Difference
Interior painting is more than a cosmetic upgrade. It enhances indoor comfort, protects walls from wear, and contributes to overall home value. Hiring a professional painting company ensures every step is handled with expertise, from surface preparation to final inspection.
At
Painting & Moore, Inc, we bring experience, quality materials, and proven techniques to every project in Charlotte, NC. Our goal is to turn dull interiors into dazzling spaces that reflect your style and exceed expectations.
Transform Your Charlotte Home with Painting & Moore, Inc’s Interior Painting Services
If you are considering interior painting or need expert help painting interior walls, trust Painting & Moore, Inc to deliver outstanding results. Our skilled team is committed to precision, cleanliness, and customer satisfaction.
We also handle exterior painting, deck staining, and wallpaper and popcorn removal.
Call us today at (704) 567-7781 to schedule a consultation and discover how professional interior painting can completely refresh your home.
Frequently Asked Questions
How long does interior painting usually take?
The timeline depends on room size, wall condition, and the number of coats required. Most standard rooms can be completed in one to two days with proper preparation.
Do I need to leave my home during interior painting?
In most cases, you can remain in your home. Professional painters work efficiently and minimize disruption, though ventilation may be recommended during drying.
How often should interior walls be repainted?
Interior walls typically need repainting every five to seven years, depending on wear, moisture exposure, and lifestyle factors.
What is the best paint finish for interior walls?
Satin and eggshell finishes are popular choices for living areas due to their durability and ease of cleaning. Semi-gloss is ideal for kitchens and bathrooms.
Why should I hire professionals instead of painting myself?
Professional interior painting ensures proper preparation, even coverage, and long-lasting results while saving you time, effort, and potential repair costs.